Spy Hunter (1st)
Originally posted on the Arcade Crusade Website 01/23/10:
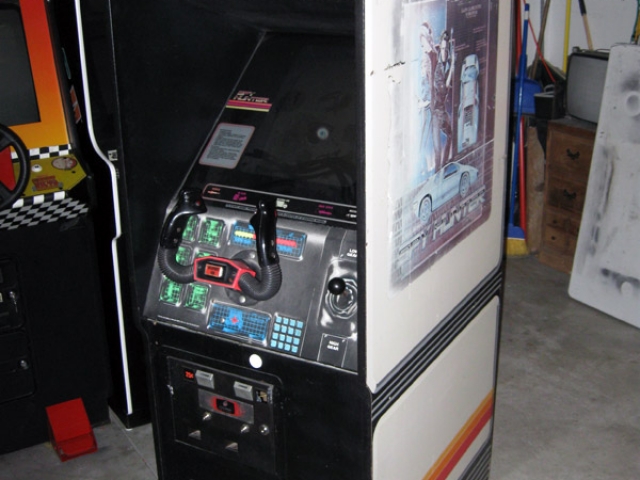
I first owned a Spy Hunter Pinball machine. After spending a while looking for a Spy Hunter video game to put next to it I sold the pin only to find the friggin' video game some 6 months later. When I got the game it was pretty beat. The monitor didn't work right… the side art was a mess and some dip drilled a hole in the front to add a credit switch… nice.
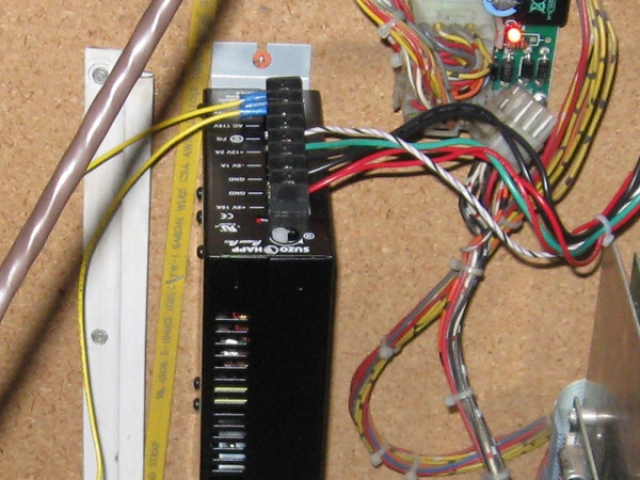
Overall the cab is in decent condition. The game itself worked but there was an audio issue where whenever a 12v lamp (the bezel lights or even the coin door lamps) fired up, the sound would "POP" loudly and the sound suddenly increase the background distortion a hundredfold… it was very distracting. The monitor that was in it was not firing the blue gun and it had some pretty sever Afterburner burn-in… Also, the accelerator pot was going bad as I was getting a max reading of 1A (2A would be much better)… which means the car would only accelerate to about 1/2 speed, never reaching the "turbo" boost. The side art isn't terrible aside form the medallion portion… though after attempting to remove the medallion from one side and ripping through the white vinyl like a dumbass… I decided that I was going to replace the entire side art. Currently, as of today (1/23/10) I am waiting on the side art and will be patching all holes/gouges/etc this weekend. The switcher with power supply that came with the cabinet along with the switcher adapter for the cabinet. I determined THIS bastard was the culprit as to why I was getting sound issues when the 12v lamps fired… as soon as I dropped a Midway Spy Hunter linear PS in the cab, all was well. I also replaced the accelerator pot and it works great and finally, I dropped a WG K7300 monitor I had on the shelf in and it looks great! While doing all this I also added a FREEPLAY ROM (pull the trigger and get a credit) and I also added NVRAM for high score saves (eliminating the need for any battery).
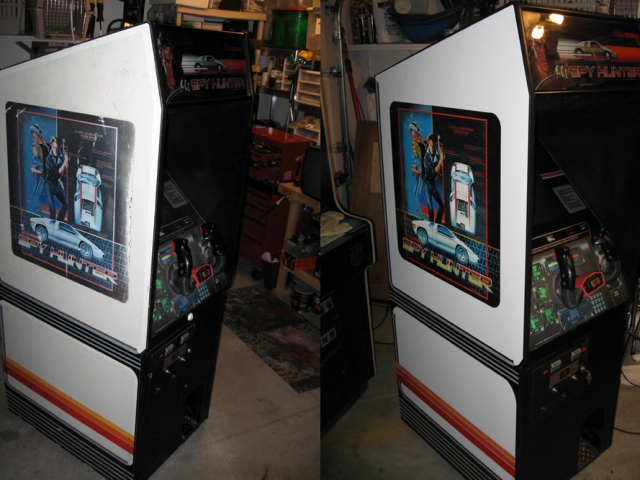
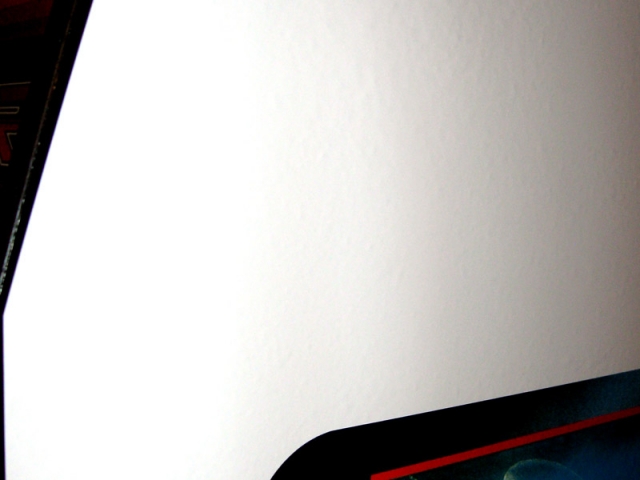
Below you will also see a comparison shot of before and after for the right side of the cab. I learned a lesson applying the right side full art… NEVER (and I repeat) NEVER apply side art with the WET method. I used the WET method on the right side and while this photo looks great, up close you can see (and feel) texture…where the damn cab wood expanded a bit. Sure, it looks MUCH better than it did originally, but it still looks like ASS up close with good lighting… especially in comparison to the left side which I applied dry. I also filled a couple holes up front (including a button hole right below the CP where some genius decided to install a credit button). I also replaced all the T-Molding (with the proper "leather" textured molding)… and I busted out a quick repaint of the front black area below the control panel. I also replaced the $.25 emblem in the coin door (the proper one is coming soon) as well as re-wired the light for it.
The left side side art came out pretty damn spiffy. I did learn that the angle up top is NOT 100% correct on the repro side art… and from what I've seen of original art, none of it is. No worries though as it looks fine anyway. If you look REAL CLOSE you can see the texture caused by installing the right side using the "wet" method. I highly recommend you AVOID using the "wet" method when installing side art…especially MDF or particle board cabs…


