
CPS-2 Capcom Anthology
Game System Produced by Capcom (c)1993
Multigame Produced by Darksoft in 2015
|
Condition When Purchased: |
B |
|
Current Condition: |
B+ |
A few months back I picked up Darksoft's CPS-2 All-in-One kit. It's a very nifty piece of hardware that enables you to play just about every Capcom CPS-2 title using actual CPS-2 hardware. Essentially it swaps out ROM data that the game loads on command. It utilizes actual CPS-2 A & B boards. I have had it up and running, along with my Darksoft ST-V multigame kit, in a converted Mortal Kombat II cabinet with the idea I was going to eventually find a Dynamo HS-5 cabinet to house it in. Well, that day has come. A local collector (and fellow KLOVian) sold me a very solid Dynamo HS-5 cabinet 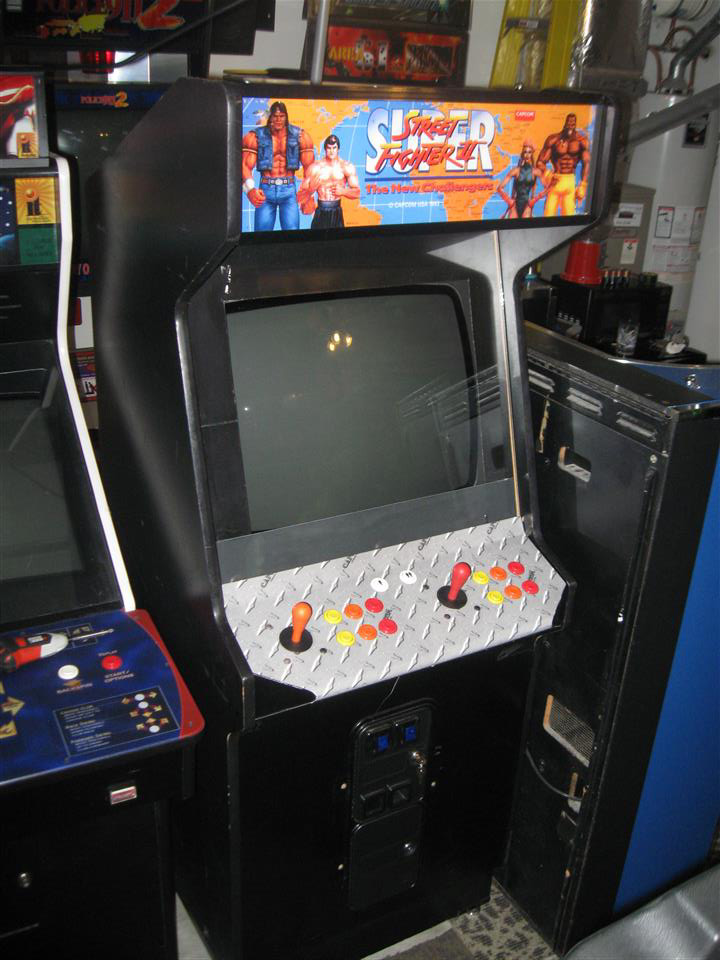 for a respectable price and I have officially begun the transition from generic Dynamo Super Street Fighter II cabinet to… CPS-2 Capcom Anthology cabinet version 2.
Using custom artwork I created a few years back to create Capcom Anthology (version 1) as a start, I intend to make a slight tweak or two to dress the game up. My first version was based on the crappy Chinese 18-in-1 CPS-2 PCB's that you could find around at the time. While it worked, it wasn't quite what I hoped for and I eventually sold the game PCB and the cabinet separately. This updated version, based on Darksoft's CPS-2 multi-game, I suspect, will have more staying power in the garagecade. I'm guessing it will remain for some time to come.
First lets take a look at what I have to work with. The seller did a good job with the cabinet already. The sticks and buttons are new, and the monitor is a Wells-Gardner K7000 series with a new-old-stock chassis in place. The coin door looks like it has been clean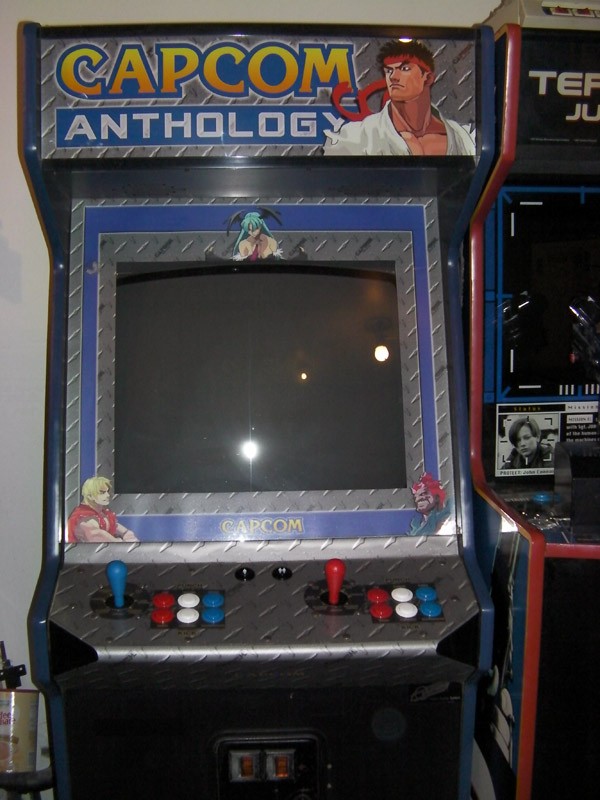 ed up and all the coin mechs look to have either been replaced or restored recently. There was even LED lamps both in the marquee (25w equivalents) and the coin door. If you look closely there are even Street Fighter characters where the 25c labels should be in the coin door. I evens was given the keys to the coin door, which in-of-itself is somewhat rare considering the usual condition of the games I pick up.
Now lets take a look at how my first version of Capcom Anthology came out (to the right). As you can see, I did go with a different color combination for the sticks and buttons… but given the fact that this cabinet already has new sticks and buttons, and those sticks and buttons are red and orange (and yellow in the case of 4 buttons), I think I am going to have to alter the marquee and bezel color slightly to match the new stick and button colors… but we'll see. Another change that I am considering is a modification of the marquee to implement the CPS-2 logo. I think it would help to differentiate between version 1 and version 2. I am also leaning toward a cleaner look for the control panel by leaving the joystick and button label s off, however I am not 100% sure on this as of yet. My next plan of action is to modify the artwork to where I want it to be then send it off to www.gameongrafix.com. Scott has always done my custom work and I've always been happy with the result.
UPDATE FEBRUARY 5TH: I picked up 2 blue sticks and 6 blue buttons. I'm going to use the orange and red sticks on a project I am working on for a friend. I will be ordering th marquee and bezel soon… I'm pretty sure I won't be making any changes to the bezel artwork… but who knows. Maybe something will come to me. I think i like the updated marquee as seen to the left…
 UPDATE FEBRUARY 18TH: I received my custom artwork from Scott over at Gameongrafix and as always he did a
 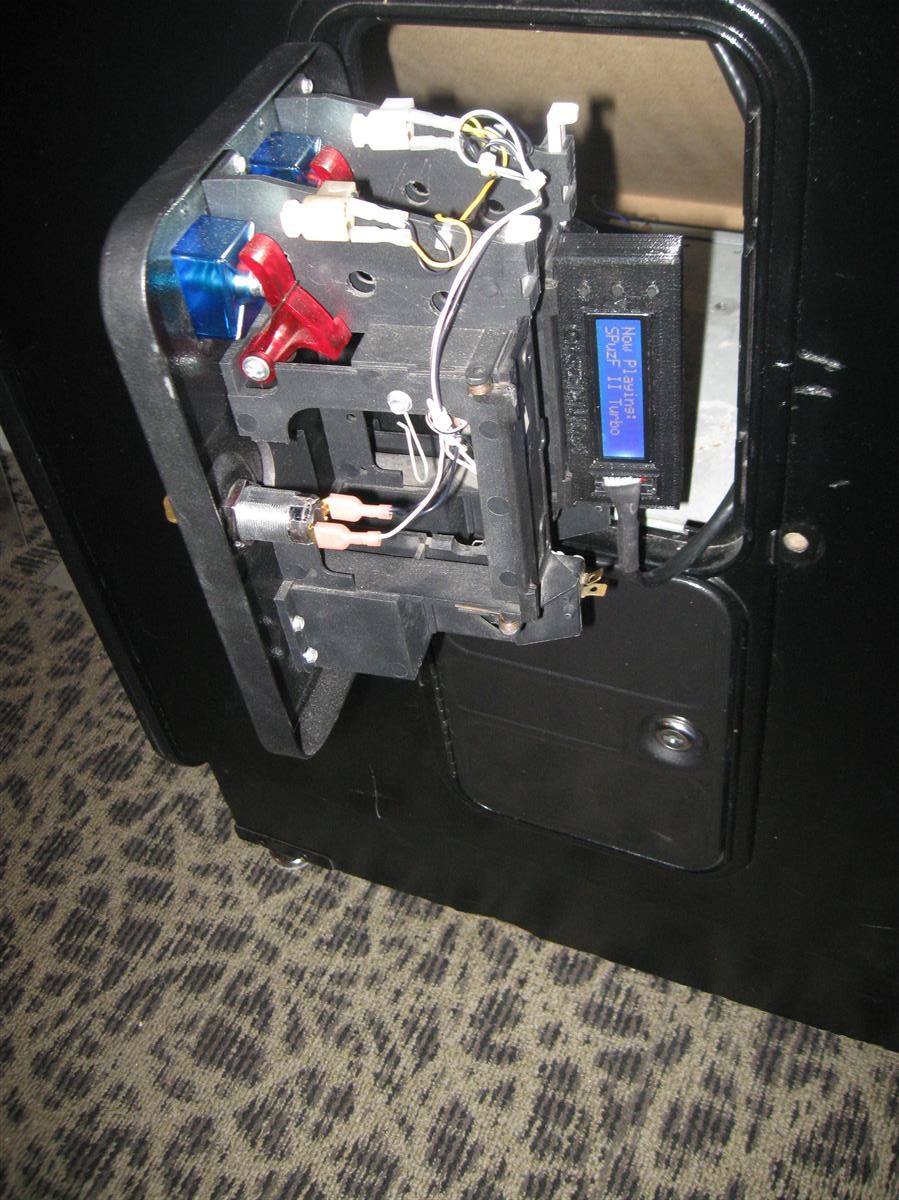 fantastic job. I needed some plexi to sandwich the translite marquee between so off to Home Depot I went. $15.00 or so later and I have a sheet big enough to cut two marquee sized sheets. I went with the thinnest stuff the had. When cutting plexiglass I much prefer the score-and-snap method… using a specialized "knife" and a metal ruler I scored the cut over and over about 6 times… put the plexi at the end of my table snapped off the overhanging piece. With patience it works well the vast majority of the time. I also took the time to re-mount my LCD screen. I didn't like the location on the "inside" of the coin door as it had to be back a bit so as to not be hit by the coin mechs… so I decided to mount it ON the coin door. Take a look to the right… amazingly it just misses hitting the frame by about 1/16 inch or so.
The cabinet looks pretty good as-is, but there are some scuffs and scrapes that will require some sanding, glazing putty and some primer/paint. IF I get to that point I will probably replace the T-Molding with blue stuff… something brighter than the blue I used on the last version… closer to the blue of the buttons. For now I am going enjoy it for a bit.
MORE PHOTOS:
")
")
")
")
")
")


Thanks… sorry for the delay in responding, but yeah, feel free to use the CONTACT button above to send me your email address if you would like the files still.
Turned out awesome, would it be possible to get the files for the marquee, monitor display and cpo artwork. Looks so awesome!