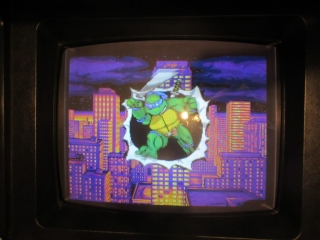
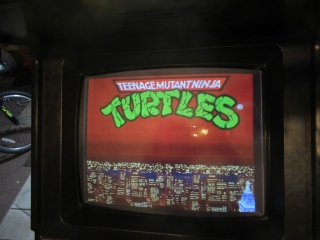
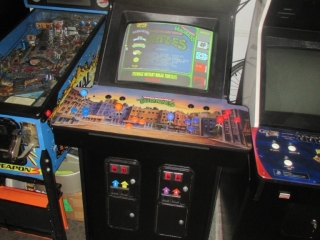
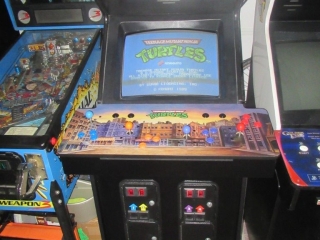
Teenage Mutant Ninja Turtles 4P Madness Multigame
Cabinet Originally Manufactured by Konami © 1989
|
Condition When Purchased: |
C |
|
Current Condition: |
A- |
 I’ve had many types of arcade games throughout the years. Single player joystick, wheel (1000 Mile Rally), trackball (my MAME cabinet, GT, etc..), even a yoke game or two with the various star wars games I’ve had. I’ve had plenty of two player arcade cabinets… also using sticks, trackballs (Marble Madness), wheels (Championship Sprint), etc… but I’ve never had a 4-player cabinet. About a year ago I started getting the itch to get back in to the swing of things (so to speak). It had been a couple years since I really did much of anything arcade related. “Life” sort of took over for a while… coupled with a massive lack of motivation and… well… here I am writing my first arcade article for my blog in nearly two-and-a-half years.
For a brief period I considered pulling the Point Blank 2 PCB from it’s dedicated cabinet and putting it in my multi-shooter then converting the cabinet to said 4-player cabinet, however as luck would have it… I managed to sell the Point Blank 2 cabinet. I’d decided not to convert prior to the sale anyway… while it wasn’t exactly a “DEDICATED” cabinet, it was a factory conversion cabinet… and converting it would likely anger the JAMMA gods… (classic arcade gods, on the other hand, really wouldn’t give a hoot!)
As for what 4P game to get, it really didn’t matter much as long as it was JAMMA as this was going to be a dreaded… MAME multigame project. Sorry “purists” … but I have a hard time getting emotionally attached most JAMMA arcade games like I do the classics. Lets just say that you’re not going to see the same treatment of a … Gauntlet (for example) from me. To each his/her own. At the very least… ultimately… I brought the cab much closer to what it was originally than what it was before!
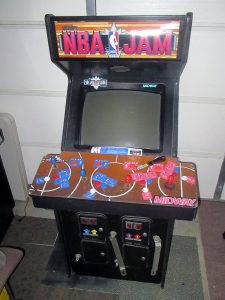
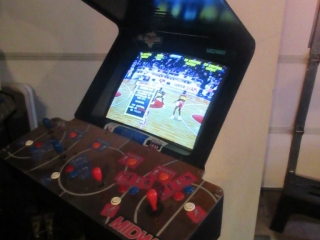
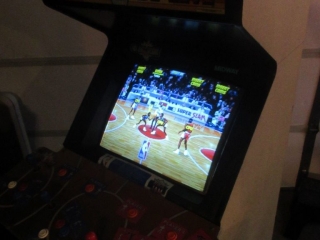
With the Point Blank gone and a couple bucks to spend in the arcade account it didn’t take all too long to come across what I considered a fantastic 4-Player cabinet opportunity. On Facebook Marketplace I came across a NBA Jam cabinet. The photo was small… but I was fairly sure it wasn’t a dedicated cabinet… likely a Konami cabinet of some sort I figured. It had been a few hours since it was posted, but I figured why not give it a shot and sent out a message.
Well, the next afternoon I got a response that it was mine if I wanted it. The price was right … and it worked … so off I went to pick up my first project in a long long time. Unfortunately as luck would have it, my nephew’s motorcycle is STILL in my trailer, so I was stuck hoping that it would fit in the Dodge Durango. Lucky for me… it did. Barely.
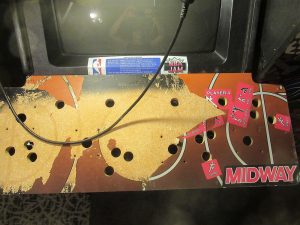
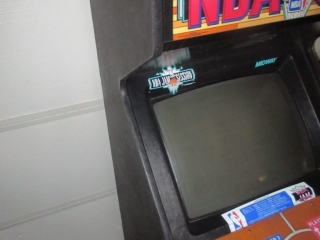
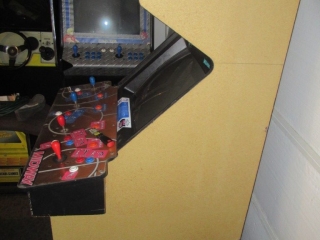
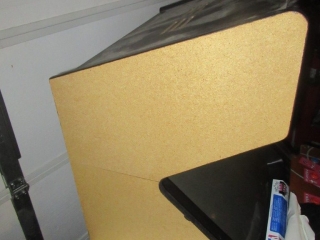
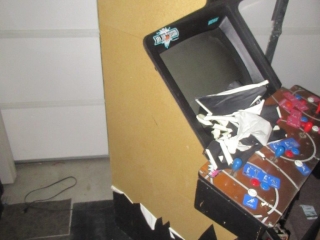
When I arrived I w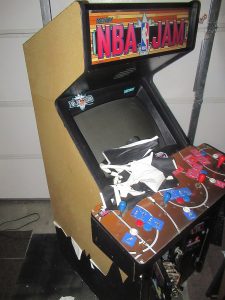 as greeted with a Konami cabinet… as I figured. It was painted black… and was a pretty decent field conversion to NBA Jam. Overall the game was in good “routed:” shape with expected scratches and nicks and what not. The game worked… the monitor actually bright… but certainly could use a re-cap. To make things even sweeter the seller had another PCB for me that came with the cabinet… a Teenage Mutant Ninja Turtles PCB… which happened to go with the cabinet as I was able to confirm via the serial plate on the back that indeed, I was purchasing a Konami Teenage Mutant Ninja Turtles cabinet. Loading the beast in to the Durango took a little finesse with the control panel up in the front passenger seat and the cabinet had to literally be “squeezed/pushed” in on it’s side…but with a little work I got the back door closed. At home, it took a little effort to get the game out, but I managed (it’s sometimes a plus being 6’4″ @ 280lbs +/-). After playing a game or two of NBA jam I tested the TMNT PCB and sure enough… it worked! All of a sudden this score (and that is what it was) sweetened up considerably.
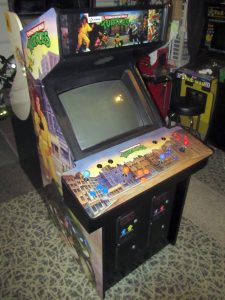
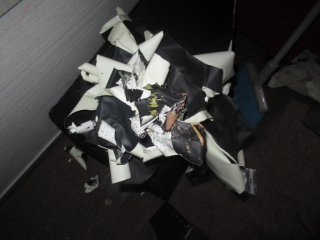
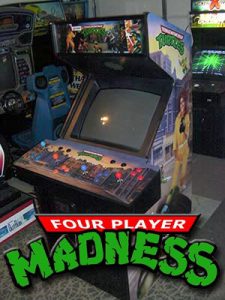
It was now decision time… while I was FOR SURE going to make this a multi 4-Player cabinet… did I want to go with the NBA Jam theme that I already had plenty of artwork for … or did I want to go with the Teenage Mutant Ninja Turtles theme that what was the original cabinet. It didn’t take long for me to decide to go the TMNT route. What did take me a couple of days of waffling back and forth on was just how far I would go. At first I was thinking of just keeping the black sides… wiping it down… getting some custom TMNT CPO, a marquee and call it a day. After looking long and hard at the sides of the cabinet… I decide the paint sucked enough to remove… which means the original side art came off as well, which left a naked cabinet. Do I just prime and paint it black from here? …or do I invest in reproduction side art? The side art for TMNT, lets be honest, ALL the art for TMNT leaves a bit to be desired (actually, the CPO art isn’t bad!)… but ultimately after some back and forth I decided the cabinet demanded the full side art. Thanks to Scott art www.gameongrafix.com for both the fantastic side art as well as the incredible custom “blank” CPO artwork (it has the TMNT background, but no labels).
Artwork application went as normal… and rather uneventful. While full side art application can be a daunting task at first, once you’ve done it a time or two it becomes pretty much old hat. Just take your time… start at one end and work your way to the other. I’ve installed using both the dry and wet methods and I’ve gotten consistently better results going dry. This application went well and the outcome was quite nice. The cabinet really does stand out now (if not for the terribly cheesy 80’s artwork, then perhaps for the malformed hand that poor woman depicted on the side has to deal with?!?). The generic “blank” TMNT control panel overlay that www.gameongrafix.com did was outstanding. The marquee (which I picked up on ebay early on) is acceptable. I replaced the sticks with ball-top sticks (no, they’re not Wico unfortunately… maybe one day I’ll get a full set of Wico TMNT color correct sticks, until then I’m stuck with these)… new color correct buttons and (because not all games use P1 for start like Konami does) some new START buttons and the control panel was done. Overall I am very happy with how the game cabinet came out.
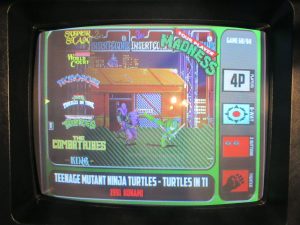
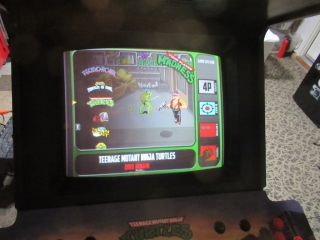
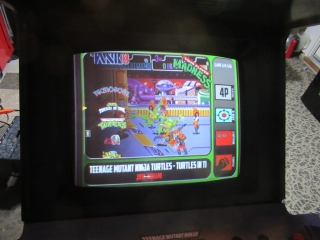
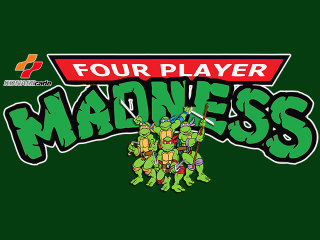
Very early in the process I’d decided I was going to go with an ARpiCADE to power this project. The ARpiCADE plays the Konami 4P games and most of the games of the genre with ease… especially the Pi4 version, which is what I picked up. I went with the ARpiCADE for a number of reasons … one of which is simplicity. It just so happens that there is a 4 player expander board available for the ARpiCADE setup which made setting things up for 4 players pretty darned easy overall. Sure, it took a little time going through the games to decide on which ones to include… and to set each game up to work as I wanted (I set up switches behind each of the 4 coin returns  … push each coin return for credits… with each game to allows it configured to coin up the correct position in game, etc.). I also included 3 player games in my list as well. After all was said and done I managed to find and configure 81 games played via MAME and 19 games played via Flycast (a Dreamcast / NAOMI emulator that works surprisingly well with the Pi4!). I decided early on to stick with a 1-stick + 3-button layout which covers about 90% of all 4 player games. I figured a 1 stick + 5 button layout wouldn’t really look that good… plus there really aren’t that many three or four player games that need 4 or 5 buttons (Pretty much all the IGS games… and a Capcom game or two I think). As for the menu, I tweaked one of my Attract Mode layouts … pilfering the FOUR PLAYER MADNESS logo off the net (thank you to whomever you are!) for the menu and the “intro” screen that pops up when you power up and called it a day. Currently, the only thing that isn’t working right now is the EXIT button for Flycast (Dreamcast/NAOMI games). It doesn’t use the same standard as MAME so I’m going to likely have to wire up a discrete button.

