Wizard of Wor
Manufactured by Bally/Midway (c)1981
| Condition When Purchased: | C |
| Current Condition: | B |
 Every once in a while a game will, more or less, fall in to your lap. This was the case for the Warlords machine that I picked up back in December. This is also the case for the Wizard of Wor you’re reading about now. I guess this scenario happens more often once one get to a point with their collection that they’re pretty much happy with the titles as well as number of games included. In any case, this game game up as “non working” on craigslist. They were asking $800.00 for the game. Suffice it to say, it sat. I saw the post about 3 hours after it went up, but I sure wasn’t going to bother at eight hundred bucks. So, after about 10 days of it sitting, nothing happening with it (not deleted nor edited to change the price), I decided to lob a “hail Mary”. See, I owned a Wizard of Wor once. I sold it to Steve at the local arcade Grinkers Grand Palace in Eagle, ID. I’ve missed it. As such, I was open to making the room to add the game, however, since it was non-working, I wasn’t overly excited to get in to a project. With that in mind, I crafted up my usual “Hi, if you get to a point where you want it gone, I can make that happen for $xxx…” letter and sent it off. Rest assured, my offer was well south of the $800 asking price. To my surprise, there wasn’t any negotiations, he simply accepted my offer. A couple day later (the whole time it was still on craigslist listed for $800, though it had been raining and not really a great day to handle business) I drove over and picked up the game.
When I arrived, it was to a house that was pretty much empty and gutted aside from a few larger items in the middle of the room. I am guessing the guy’s prior tenant left it or 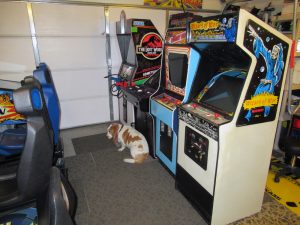 something. He did mention a room mate having owned it for 6 years. I asked him if he knew what was wrong and he said that the monitor was very very faint and that there was something wrong with the audio. I paid the man at which time he reached down and plugged the game in. He proceeded to point out the monitor issue (yes, it was very dim, but I could see the graphics were all there… no corruption from what I could see… by this point I was getting pretty excited.). He then said something to the effect of “If you push one of the buttons or move the joystick you can hear the audio issues”… at which point I did so and out came the usual voice “Please insert coin.” etc… plus the “DONG DONG DONG DONG” of the gameplay “sounds” themselves. He goes on “See… there.”. I asked him “Do you mean those DONG sounds?”… and he says “yeah…”. I told him that was normal, that was how it was supposed to sound. He copped to thinking that was audio corruption. We unplugged, rolled the game out and on to my trailer and I hauled it home. I was pretty damn happy with both the physical condition as well as the electronics condition of the cab. At this point, I had no idea if the monitor could simply be adjusted, if it needed a cap kit, or if there was another issue. The game PCB itself appeared to be in working order. Yes, I was thrilled with the deal.
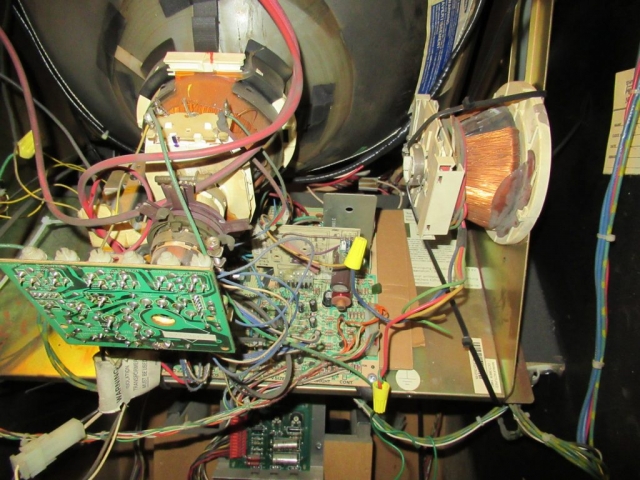
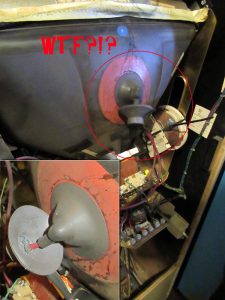 After getting the game home, unloaded and the trailer put away I, well, I mowed the lawn. Unfortunately I picked the game up Saturday morning and Saturday is my yard work day. SO, after spending a few hours doing yard work, honey-do’s and the sort, I finally had some time to drop in and see what was going on with the monitor. What I found was something I’ve never seen before and I am likely never to see again. But… I am getting ahead of myself. Let me start at the beginning. I pull the back off and somehow missing the elephant in the room (again, more in a minute), I set about to adjusting the monitor. The first thing I notice is some hack-job that has been done to the anode cup… evidently the original anode clip got screwed up so someone soldedered a 2nd cup to the original. That shouldn’t have an effect on my brightness however, and there isn’t any arching going on, so I figured I’d leave it be for now. As for adjusting the monitor, to make a long story short, save for a slight increase in brightness, the monitor could not be adjusted. I figure that it was due for a cap kit and set about to posting my new acquisition to my forum as well as a photo of the anode hack. After posting, one of the members responded asking what the “2nd yoke” was for? Second yoke? What? I look at the photo posted (to the left) and sure enough… there is a second yoke! Huh?!? How in the hell did I miss that? I even circled the anode hack?!? Crazy. I went out to the garagecade and took a look and sure enough… the 2nd yoke was wired to the chassis! I took a couple more photos of the hack in hopes that someone could tell me what it was that I was looking at and posted them online. It took all of about 10 seconds for me to see in one of the photos, something I would never in a million years expect to see. I’ve posted the photo in question to the right and circled what I saw…
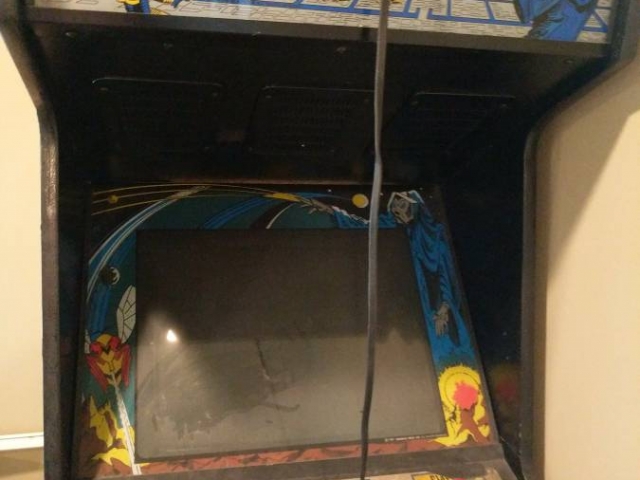
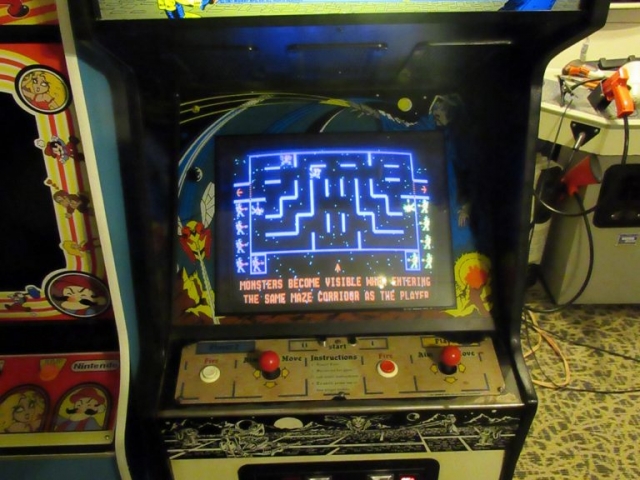
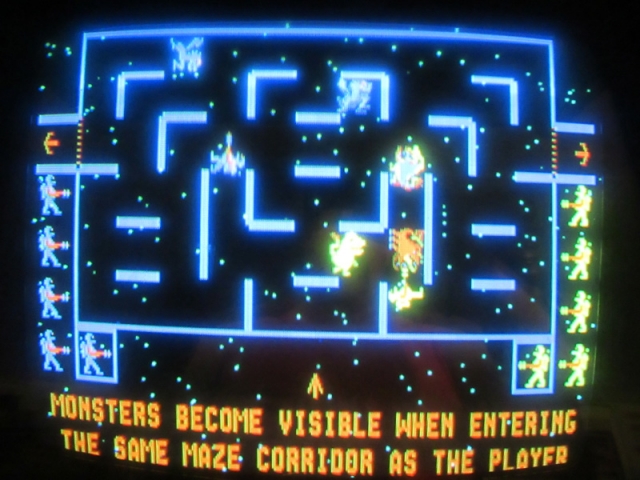
That’s right! A THIRD YOKE! Immediately I went back out to the garagecade I again took a look in to the back of the cabinet and there it was… a third freakin’ yoke… also wired up to the chassis. After looking for a fourth (I mean, what were the chances for three?!?) and not finding one, I posted about my discovery. After some discussion with more than one monitor guy, apparently what I had was a 25 inch K7000 chassis attached to a 19 inch monitor tube. Someone has hacked in the additional yokes to create the necessary resistance for the chassis to display correctly on a 19 inch tube! With that mystery solved, I wondered if it could be the reason for my very dim display? At the advice of another I measured the heater voltage and it come in at a weak 4.5v or so… after attempting a hack suggested to increase the heater voltage (and only getting to 4.85v… but with a slight improvement in brightness) I busted out my rejuvenator and plugged it in to the tube. After testing the emissions for all three guns and none of the tests even moving the needle on the rejuvenator (all three tested as “BAD”), I moved the switch over to “CLEAN” and gave all three guns a single run through the clean cycle. End result was two guns now pegging  maxed out “GOOD” and one gun solidly in the middle of the “GOOD” area when testing. I unplugged the rejuvenator and plugged in the neckboard. With bated breath I fired up the game and… well, I think the results speak for themselves (see left).
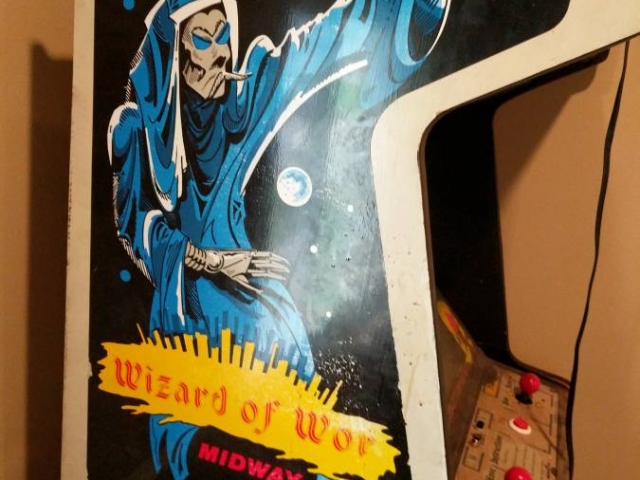
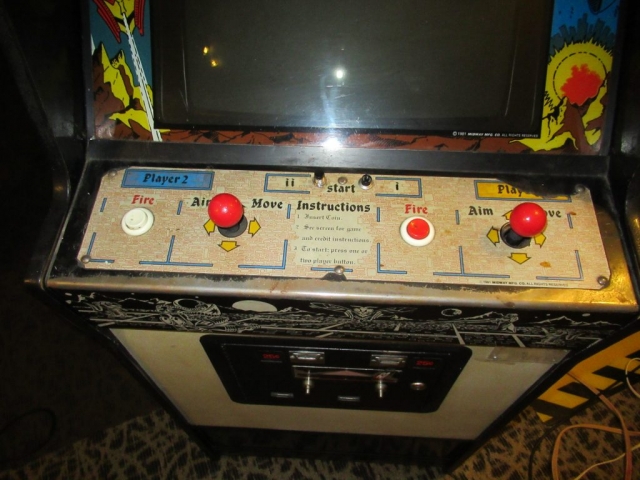
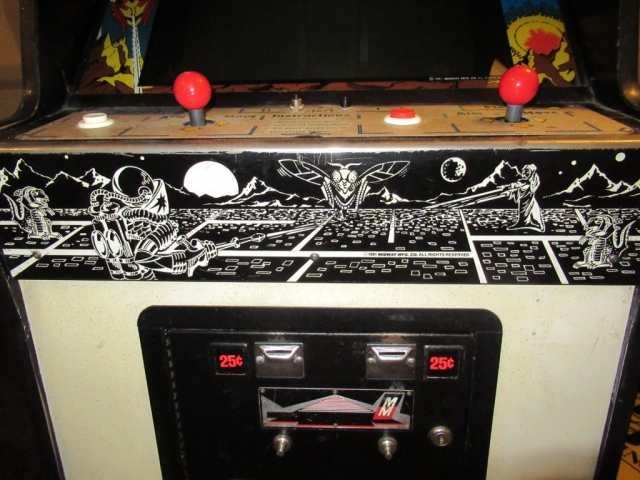
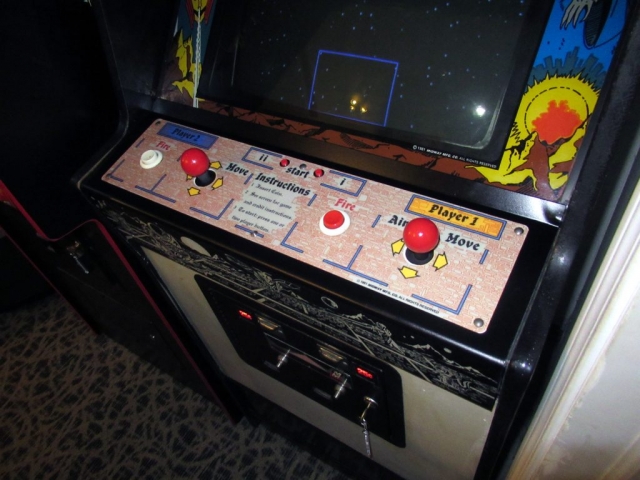
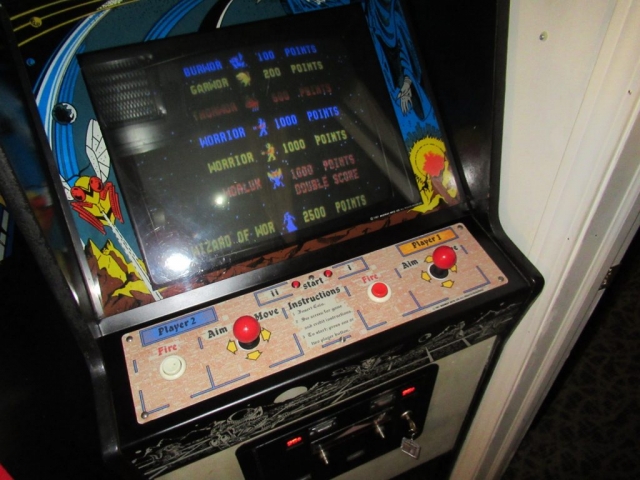
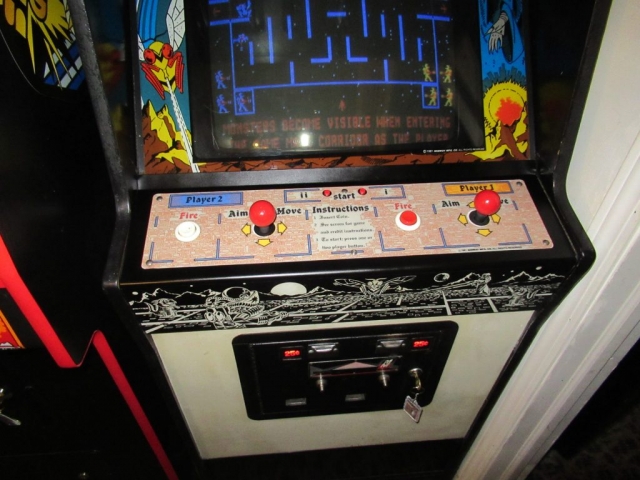
I’ve deemed the cabinet itself in too good of shape to “restore”. As it stands, it’s in solid “B” original shape. I have already added a high score save kit from www.highscoresaves.com and I plan only to restore the control panel (the front art is in good shape… I will mask it off, re-paint, and add a new control panel overlay), replace one of the fire buttons, and replace the two start buttons that someone has replaced with non-proper buttons. When that is done, the game is done. I will add recapping the monitor as well as a new flyback (along with a new anode cup!) to the “will get to one day” list.
I will update this blog post when I tackle the control panel. The start buttons can be found at Mouser HERE. I can’t find a silk-screened version of the control panel overlay anywhere. Evidently Arcade Restorations/Quarter Arcade did them years ago, but not since… and no one else has tackled it. An inkjet version can be had at This Old Game HERE. Thanks for reading!
UPDATE 07/09/17: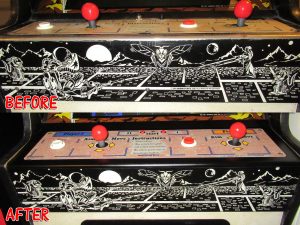
I completed the control panel restoration attempt… with mixed results. Unfortunately, the CPO that was sent included an issue that wasn’t determined until after installation. To the credit of This Old Game, Rich immediately offered a replacement … however, I do not relish attempting to remove this newly installed CPO for fear of destroying the paint… however, I am likely going to venture forth and remove the newly installed CPO and re-install the corrected version. The fact of the matter is that 9 out of 10 people wouldn’t notice the “issue” unless it was pointed out to them… but when you’ve paid close to $25.00 for two buttons … just so they are right … one must understand the anal retentiveness here, no?
In any case, the process of removing the old CPO was pretty straight forward. I first masked off the art on the front. I didn’t want that artwork to be affected negatively… it’s in pretty decent shape and I wanted to retain it’s silk-screened glory rather than remove it and going with vinyl art. Removing the actual CPO was pretty easy… it came off in a matter of a couple mi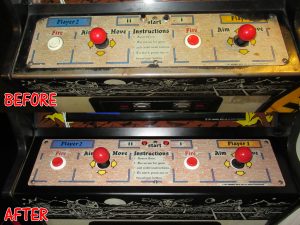 nutes. The glue under it however, wasn’t as easily removed. That said, as far as CPO restorations are concerned, this one was pretty easy when it came to the adhesive removal. While a mess (using a Soy based stripper product I’ve used for years), it was nowhere near as difficult to remove as the typical Atari CPO. After the adhesive was removed I took the paint off with a stripping bit and my drill. I like to take my CPO’s down to bare metal and start fresh. After stripping I sprayed a nice foundation of primer and let dry. The next day I applied a couple coats of Rustoleum Black (satin) and let dry. After removing the masking came off I worked the transition from the old paint to the new a little to try to buffer out “line” a bit. Overall I am quite pleased with the result.
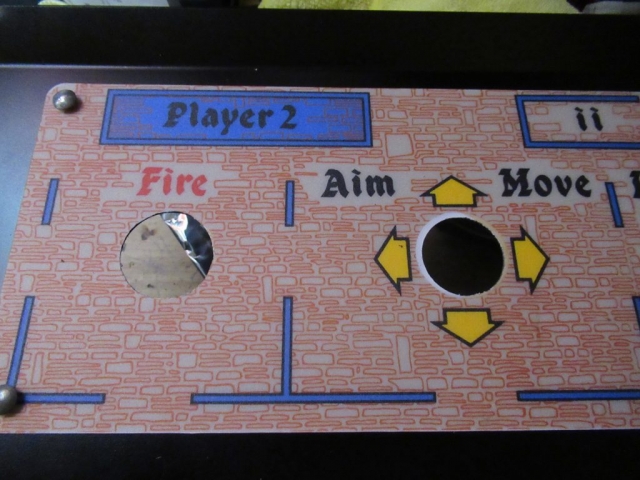
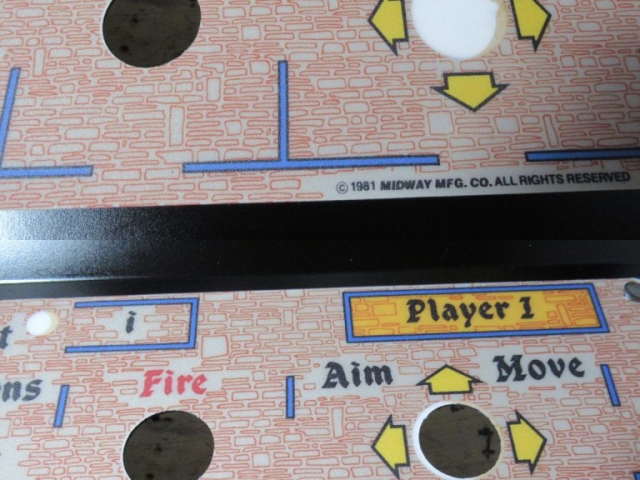
As for the control panel overlay, what I ‘d received from This Old Game was an inkjet reproduction. As such, the button holes, bolt holes, etc. were not plotter-cut… rather it was a solid piece of textured material with white/brownish holes representing where the holes are. Basically, an original NOS CPO was scanned, properly sized, then printed. Unfortunately, the original CPO actually didn’t extend to the edge of the joystick holes… but rather left a 1/16″ or so “band” exposed (therefore the color
black) around the stick. This was not noticed when the CPO was scanned and as such, my CPO has a resulting… WHITE (and partially the brown “backing” color) “band” around the sticks. Not good. The solution is to copy/paste the pattern that surrounds the sticks through the “holes” in the CPO, but this wasn’t don’t on this original CPO… (but will be done on the replacement). I didn’t notice this until the CPO was laid down and adhered. What I did was “drill” out the 6 CPO bolt holes in the CPO… peel the backing… insert bolts in the left two holes of the CPO… then slowly push in to the two bolt-holes in the panel itself… pushing down on the cpo as it lay. The bolt holes all matched up nicely to the panel… leaving the button holes and joystick holes left to cut out. It was when I got to the joystick holes that I realized the issue. As to whether or not I will remove and replace the CPO… right here… right now… I am leaning toward YES. If/when I do, I will, of course, post the results here. As for the rest of the CPO, it’s an acceptable inkjet reproduction. The red color is a little hot (I mentioned this to Rich as well) and should be adjusted down 20-25%, but I’d guess that is a subjective opinion considering I only have experience with older 30 year old CPO’s… and not a NOS piece. Overall I think the CPO looks quite nice compared to how it looked before… even with the minor issue with the CPO.
UPDATE 08/02/18:
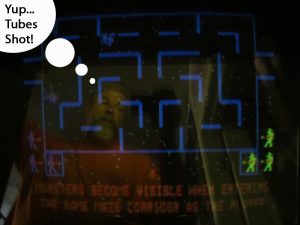 Unfortunately, Frankenstein’s Monitor would not “hold” an image. I would rejuvenate… the screen would look fantastic… for about 30 minutes… it would then start a gradual decline in overall brightness and upon checking, yup, the emissions levels of all guns
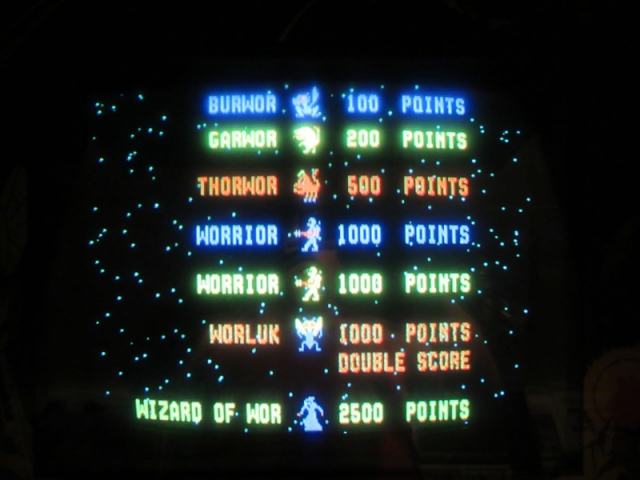
 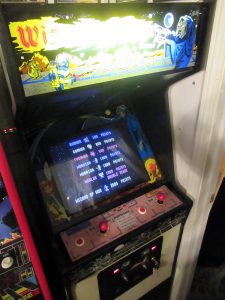 were well below acceptable. Another rejuvenation (just in case) and the same result… SO. I needed a monitor. Any 19″ CRT would do… as long as the screen wasn’t terribly burned in. My quest took about 9 months. Back in May I happened across 3 “working” Vision Pro 19″ monitors locally with varying degree of burn-in. I purchased them all. They all did “work” but they all did need recapping, which I immediately did on all three monitors. I’ve gotten 3 of the 4 up and running beautifully… that last monitor just may one day become a blog post of it’s own. One of the rebuilt Vision Pro monitors went in to the Wizard of Wor with very little trouble and has been humming along nicely for the last month. The photos I take of it always seem to show the blue as being very strong, but it’s not nearly as strong in person. 🙂

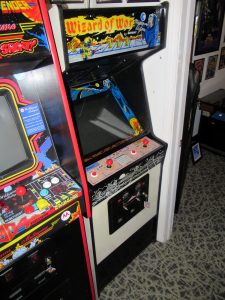
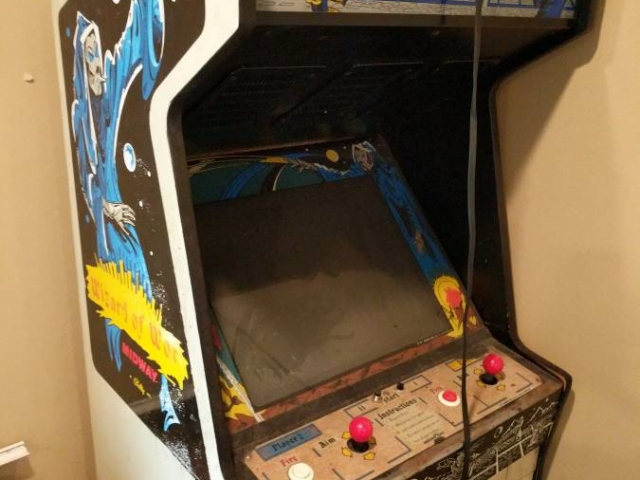





This makes me miss my Wizard of Wor. Like an idiot, I let a friend who ‘worked on arcades’ jammatize it. He painted the sides black and hacked the control panel. Of course, this was in my very early days of the hobby. I finally unloaded to somebody. I couldn’t bare the shame of looking at it anymore.